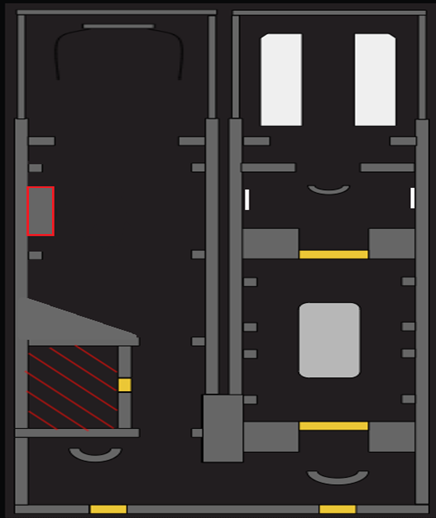
Bridge Sector
The Bridge sector is the main hub for the Republic Navy, acting as a command and control center for the Liberator. The bridge sector is defended by the Coruscant Guard during Defcon 3 attacks.
Starboard Bridge
Starting out with Starboard Bridge we first enter the War Room, a meeting area which is used to conduct meeting as well as pre-deployment briefings. Following the War Room we have Deep Right Bridge. This part of the Bridge Sector contains several vital parts including the Hyperspace Controls which allow the Naval operator to enter the Liberator into hyperspace. The four Cannon Modules that display the integrity of the DBYs located on the ships hull, If a Cannon Module goes down the corresponding DBY to become unusable until the module has been repaired. The DBY gunner seats, these allow a Navy operator to aim and fire the ships DBYs. The Starboard Bridge controls allows a Navy operator to control ship alarms, sirens and lights from the bridge.
Port Bridge
The port bridge starts out with the Republic Navy bunks and then continues on to the deep left, the deep left bridge gives the Navy access to hangar controls allowing them to open all gates of the Liberator. Left bridge will replace the ATC during Defcon 3 attacks as it gives navy an overall bigger picture of the battlefield as well as information from the module status screen regarding the integrity of modules.
